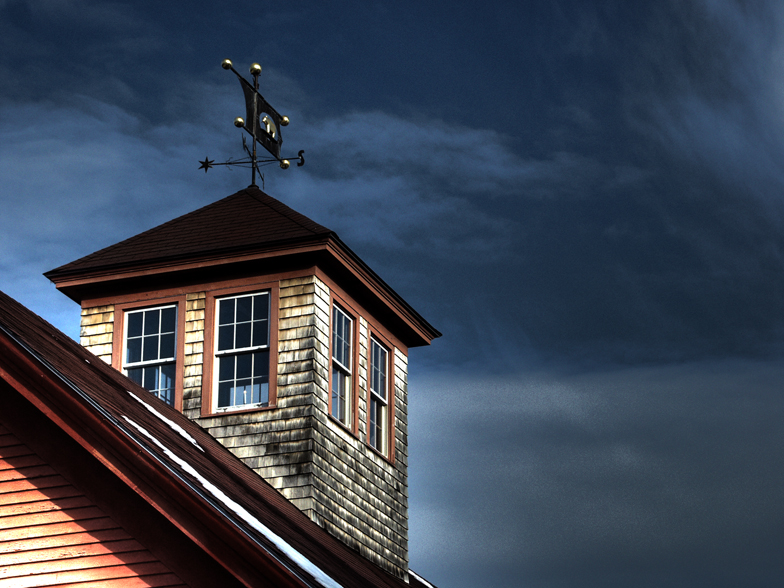
After I have the concept, I shoot the image and download to the computer. In this case it’s a straight photograph not a combination of images to form a surreal piece for instance. I spend the time on the computer to crop the image if necessary, adjust color and brightness and contrast and then “build the edges”. This is the process of extending the image to accommodate the approximately one and half inches that wraps around the bars; the gallery wrap. I like the gallery wrap style because it gives the buyer a finished, ready to hang piece that doesn’t have a frame that might fight with the existing decor. The gallery wrap means that the canvas stretches around the bars to the back of the piece and is stapled on the back, no exposed staples to see on the sides.
Once I am pleased with the composition process on the computer, it goes to the printer. Most times it goes to the printer several times. The first time is generally a small paper proof so I can get a first visual of the image. I might not like what I see initially and go back to the computer once more or maybe 3-4 times. Each time it comes back to the printer for a look/see. When I am happy with the image I design the card and print and trim the cards. I then sleep on it and let it “simmer”. It might simmer for days before I decide to revamp or redo; in rare cases the image might die right at this stage. If it looks and feels right I prep the file for print (building the edges and touching up any flaws) and print it on canvas. Choices made on the printer determine a great deal of the archival permanence of the final product. I chose to print on 100% rag paper and canvas that is ph neutral. The ph neutral part means no acid to break down the ink and the paper/canvas over the years. Acid in your newspaper can cause the paper to yellow in just hours, so no acid for us. The next important decision is to use pigment inks. I use an Epson 7880 eight color printer with their UltraChrome K3 inkset; that means it’s pigment and permanent. Just for the record, most desktop printers use dye ink instead of pigment, it’s much cheaper but not permanent color. For vivid color, I choose a coated surface to print on. The result is great ink “hold out” which simply means that the ink is on the top of the paper to give the work a brilliant look instead of soaking into the substrate. The print process takes about 18-20 minutes for a 20X28 size print.
The canvas print is given a very thorough inspection. I’m looking for any voids in the coating or the ink and making sure it is properly positioned on the canvas to allow proper stretching on the bars. the canvas is dry to the touch pretty much when it comes out of the printer. The actual time to cure for the ink prior to the varnish process is 24-36 hours.
Then it goes to the spray booth for the first coat of varnish. The varnish is aqueous and earth friendly. It protects the image from fingerprints and scratches and abrasions as well a protecting it from the harmful effects of the sunlight. It also protects the image for the stretching process. The varnish must cure for 24 hours bfore going to the next step.
We are about to start the “gallery wrap” process. This is where we assemble the bars and adjust them to be perfectly square. The print is placed face down on the work surface with the bars positioned in the center of the canvas. The stretching starts with a single staple being placed in the center of each bar; left and right and top and bottom. Then turn it over to double check that the alignment is correct for the wrap. Face down again and start working from the center to the corners stretching and stapling around and around. Finish off the vertical edges leaving some room to turn in the canvas on the horizontal edges. Carefully turn and fold on 45 degree angles and press the fold tightly to make a very tight fold. Then stretch and staple and hammer all the staples to finish. Next mark the position of the holes for the D rings and wire. Drill, attach the wire, wrap the loose ends with black tape to protect ones fingers from the sharp needle like cable ends. Now it’s time for the final coat of UV protectant varnish. The varnish is aqueous so it’s a simple water cleanup. My current choice of varnish is Premier Art Eco Print Shield and I am choosing to use the glossy version for most of my work. When I do art reproductions I will choose a gloss or satin varnish to closely match the original…….so follow the picture process below to get to the finished piece of art to hang on the wall.


